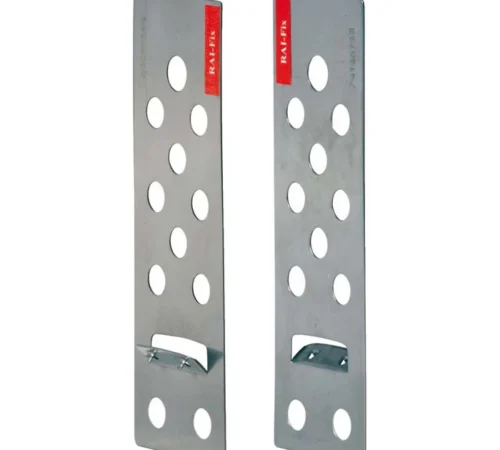
TILE SPACER

Description

Tile Spacers – Small Tool, Big Impact on the Final Finish

In tiling work, even a slight deviation at the beginning can lead to noticeable alignment issues by the time the installation is complete. When laying large floor areas or wall surfaces, this small shift becomes more obvious, affecting both symmetry and overall finish quality. Tile spacers are simple but essential tools that prevent this problem by maintaining consistent and accurate spacing between each tile while the adhesive sets.

Available in multiple sizes, including 2 mm, 3 mm, 5 mm, and wider options for large-format tiles, they allow installers to achieve precise joint widths based on project requirements and design specifications. This ensures uniformity across the entire surface, from start to finish.

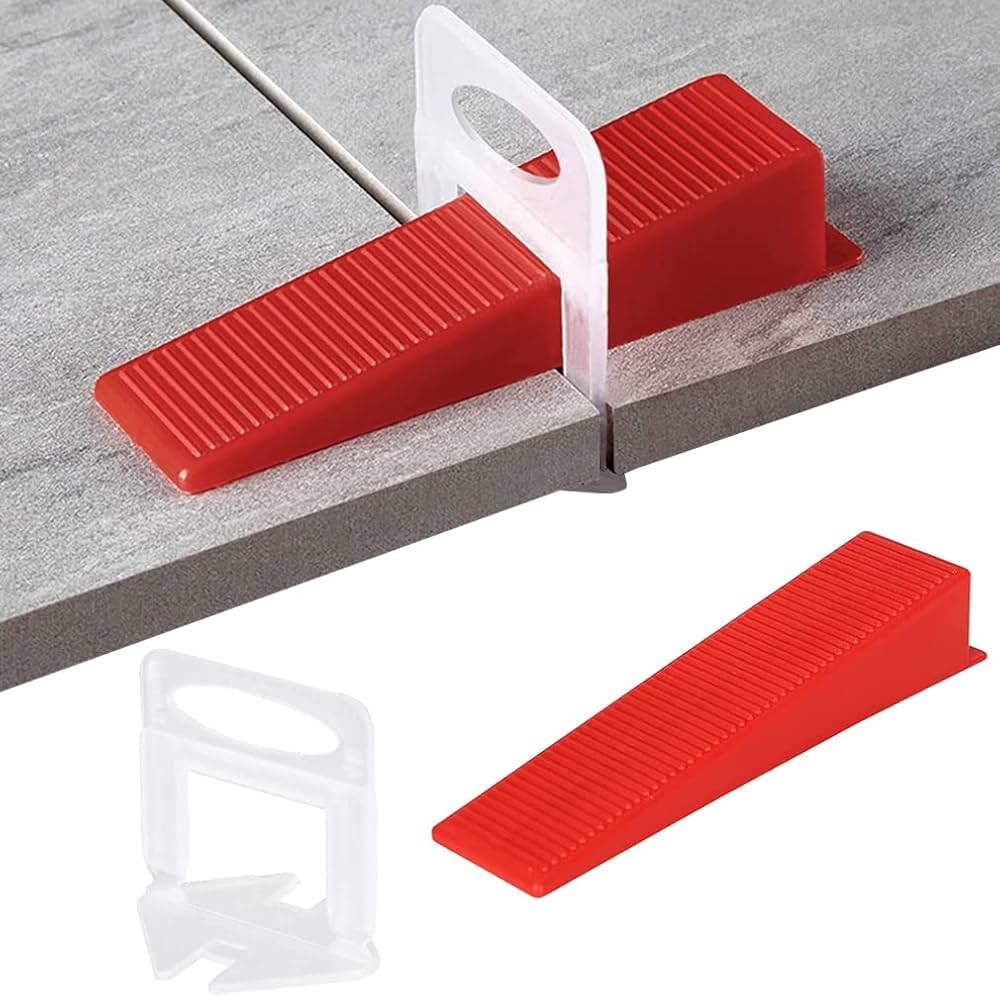
Different spacer types are used depending on the layout and installation method. Cross spacers are commonly used for standard field tile layouts, helping maintain even spacing in all directions. T-spacers are ideal for perimeter edges and corner transitions where full cross spacing is not required. In addition, levelling-compatible spacers are designed for use with clip-and-wedge systems, helping achieve both alignment and flatness in modern tile installations.

For large-scale commercial projects, tile spacers are available in bulk quantities, making them suitable for phased construction work where consistency and speed are critical across multiple installation stages.

Choosing the Right Tile Spacer Size

The size of a tile spacer determines the width of the grout joint, which affects both the appearance and performance of the finished surface. Selecting the wrong size can lead to cracking grout, visible misalignment, or joints that are too narrow for the grout to bond correctly. The choice depends on the tile format, material type, surface location, and the design finish required.

For wall and floor tiles, the appropriate joint width depends on the tile type, size, dimensional variation, installation conditions, and project requirements. Narrower joints can suit rectified tiles, while larger or non-rectified tiles may require wider joints to accommodate dimensional variation. Always follow the tile and grout manufacturer’s recommendations when selecting the joint width.

In the UAE and across GCC countries such as Saudi Arabia, Qatar, Kuwait, Oman, and Bahrain, exterior tiling can experience significant temperature changes. Tile and substrate movement should be considered when selecting the complete installation system. Joint width should follow the tile, grout, movement-joint, and project requirements rather than relying on a fixed minimum size.

How Tile Spacers Support Grout Performance

The relationship between tile spacers and grout is direct. The spacer determines joint width, and joint width determines which type of grout can be used. Grout selection depends on the joint width and the specific grout manufacturer’s instructions. For example, some unsanded cementitious grouts are specified for joints up to 3 mm, while some sanded grouts are specified for joints from 3 mm and wider. Always select the grout according to its stated joint-width range and the project requirements.

In wet areas such as showers, bathrooms, and swimming pool surrounds, epoxy grout can be suitable where the project requires higher resistance to moisture, staining, or chemicals. The appropriate grout should still be selected according to the joint width, tile type, exposure conditions, and manufacturer’s technical requirements. Choosing the correct tile spacer size from the outset ensures the grout type specified for the project can be applied correctly. CretePro Trading supplies a range of tile adhesive and grout products that work in system with the spacer sizes described here. For guidance on compatible products, visit the Tile Adhesive and Grout section of the CretePro product range.

When to Remove Tile Spacers During Installation

Timing is critical when working with tile spacers. They should be removed before grouting, once the tile adhesive has set sufficiently and according to the adhesive manufacturer’s instructions. The exact timing varies with the adhesive, temperature, substrate, and site conditions. Removing spacers before the adhesive or grout system has fully cured helps keep the joints clear and ready for grouting.

Spacers must always be removed before grouting begins. Grouting over spacers leaves air pockets within the joint, which weakens the grout, traps moisture, and causes cracking over time. Once the spacers are out and the adhesive has cured fully, the joints are clean and ready for grout application. This sequence applies to all tile installation work, whether on floors, walls, wet areas, or exterior surfaces.

Tile Spacer Supply Across the UAE and GCC

CretePro Trading supplies tile spacers and tile installation accessories to contractors, developers, and procurement teams across the UAE, including Dubai, Abu Dhabi, and Sharjah. Supply is also available to project teams working in other GCC countries, including Saudi Arabia, Qatar, Kuwait, Oman, and Bahrain.

Spacers are available in bulk quantities to suit phased projects and ongoing supply requirements. For product specifications or project pricing, contact the CretePro team directly. You can also explore the full range of tile installation tools and accessories available through CretePro, or browse the complete waterproofing and tile system products to plan a full installation system for your project.

Frequently Asked Questions

What size tile spacer should be used for bathroom floor tiles in the UAE?
A 3 mm spacer can be suitable for many standard bathroom floor tile installations, but the correct size depends on the tile, grout, substrate, and project requirements. For areas with underfloor heating or significant movement, the complete tile installation system should be specified according to the applicable manufacturer and project requirements.
Can tile spacers be left in place and grouted over?
No. Tile spacers must always be removed before grouting. Leaving them in place can prevent grout from filling the joint completely and may affect the performance and appearance of the finished joint. Spacers should be removed once the tile adhesive has set sufficiently, following the adhesive manufacturer’s instructions.
What is the difference between cross spacers and T-spacers?
Cross spacers are used at the junction where four tiles meet in a standard grid layout. They maintain equal spacing in all four directions from a single central point. T-spacers are used at edges and corners where only three tiles meet, such as along a wall perimeter or at a surface boundary. Using the correct spacer type for each position ensures consistent joint width across the entire tiled surface.
Do exterior tiles in GCC countries require wider spacers than interior tiles?
Exterior tile installations in GCC countries should account for temperature changes and movement within the tile and substrate system. However, joint width should not be selected solely based on climate. The tile, grout, movement-joint layout, substrate, and project requirements should determine the appropriate joint width and installation system.
How many tile spacers are needed per tile?
The number of tile spacers required depends on the tile size, layout, spacer type, and installation method. Spacers are generally placed at tile intersections and along edges as needed to maintain the specified joint width and alignment. Larger tiles may require additional spacers or a compatible leveling system according to the installation requirements. For bulk project estimates, spacers are typically counted based on the total number of tile junctions across the installation area, with a standard waste allowance of around 10 percent added to the total.

Reviews

There are no reviews yet.

Be the first to review “TILE SPACER”

Your email address will not be published. Required fields are marked *

Cart (0 items)
icon